

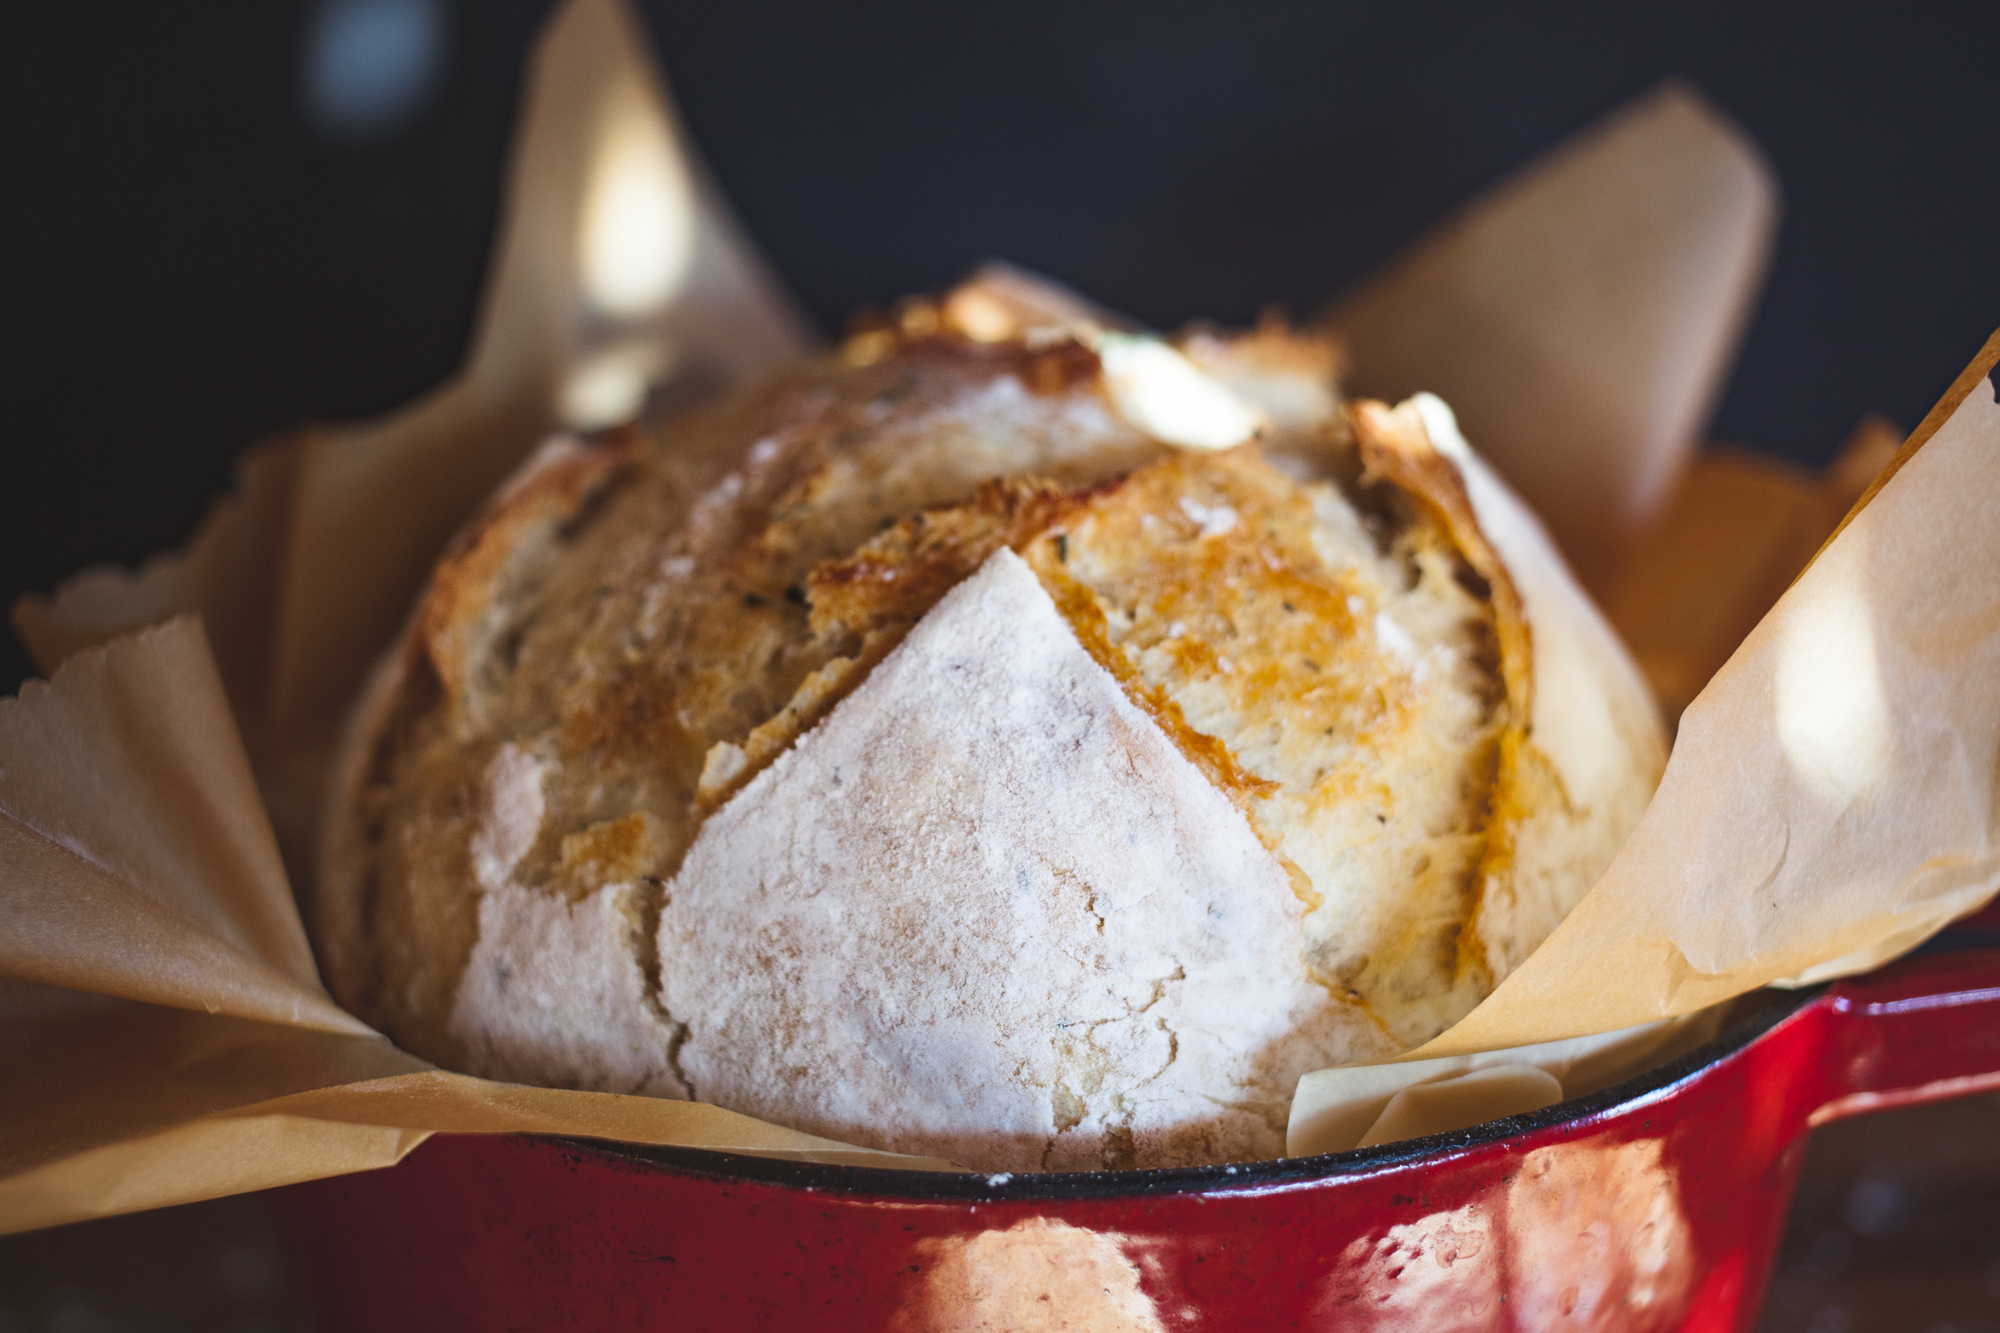
I always start out with pure intentions when it comes to buying a loaf of French bread from the bakery. And without fail, I either don’t use it fast enough or I don’t use the whole loaf the same day and it gets brick hard. I swear those loaves have a ticking time bomb of freshness inside that starts as soon as you leave the store.
My go-to move is let the loaf dry out completely, and then hack at it to get blender sized pieces and pulse it until they become bread crumbs. I throw them in a freezer zip-lock bag and toss into the freezer for the next time I need to bread something. (When ready, take them out of the freezer, season and use like store bought bread crumbs.)
So here I am, yet again with a half loaf of dried out French bread. I’ve been on a roasting kick lately and I wondered if I could breathe life into this loaf by dressing them in olive oil and roasting them….so I tried it.
And it worked! Here’s what I did.
Print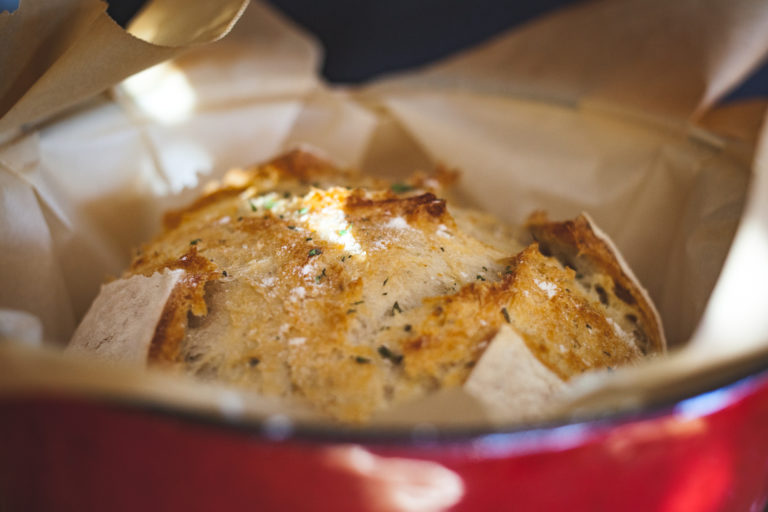
Homemade Bread Crumbs
If you’ve ever bought bread from the bakery and it dried out before you could use it, this recipe is for you. That beautiful baked bread still has life in it, even if it does look like it will crack a tooth. Use this recipe to revive and repurpose your dried out bread into a freezer friendly hack or your new favorite salad topper.
- Total Time: 40 minutes
Ingredients
Dried/stale bakery bread
Olive Oil
Seasoning of your choice
Instructions
FOR THE BREAD CRUMBS:
Chop and hack your way through the dried out bread to make smaller, about 1 inch, pieces. Put the bread crumbs in the blender or food processor and pulse until your desired size. I pulse until they are about the size of a grain of rice. If you prefer a more powdery breading, pulse until it’s almost a fine powder. Season the bread crumbs and throw them in a freezer zip lock bag for later use. (Don’t forget to date the bag!) When ready, just let them thaw for a few minutes on the counter and then they are ready to use to bread anything you want. From veggies to chicken or fish…you are good to go! These bread crumbs taste much better than the store bought version, just sayin’.
FOR THE CROUTONS:
Hack at the bread until they get into about 1 inch chunks. Don’t worry about uniformity, just do what you can. When ready place them into a large bowl. Wash your hands and then pour some olive oil into the bowl. I pour down the side of the bowl and turn it so there is an even coat along the wall of the bowl. Use your hands to gently massage the oil into the bread. If you need more, add more. the goal is to lightly coat the outside of all the bread pieces but not drench them. Chop up some herbs ( like rosemary, thyme or parsley ) and add salt and pepper to the bowl and gently toss one more time. Let them sit on the cooking tray while you preheat the oven to 400. Put the croutons in and babysit them until they are a golden brown. I start with 10 minutes and keep checking after that. Take them out when ready and let them cool on the counter. Throw into salads or you can do what I do and put them in a bowl with hot mac n’ cheese. YUM!
Notes
I keep my bread crumbs in the fridge for up to a couple weeks or I freeze them for up to 3 months.
I keep the croutons in an air tight container and be sure to use them within the next couple days. If they dry out again before I can use them, I blend them and put them in the freezer as well.
- Prep Time: 20
- Cook Time: 20
Keywords: bread crumbs, croutons, homemade panko, dry bread recipe
Simple as that folks! Add them to the salad for dinner or put them on top of mac n’ cheese. OR top off my green bean salad recipe with them and let the flavors / crunch sing! Now that I have a new back pocket hack for using dried out bread, I feel much less guilty about buying them and worrying if I use it right away. Because who needs that pressure anyway right?! Hope you give it a try! Don’t forget to tag #bookishbitesbreadcrumbs so I can see / share your post.
-Stay curious.


")


Comments +